

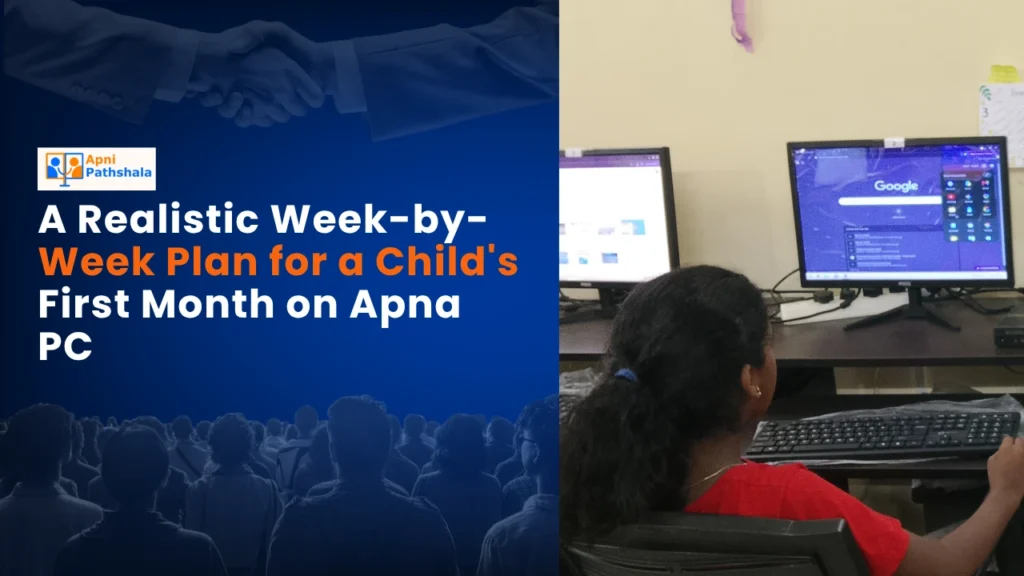
When Rajesh Got Apna PC Home: A Real Story
Rajesh Kumar, a Class 4 student from Indore, sat staring at the Apna PC box his parents had just unboxed. His mother, Priya, worked from home as a data entry operator. His father, Amit, drove an auto-rickshaw and wasn’t always around during study hours. They’d bought this educational computer because Rajesh’s learning routine had fallen apart during the pandemic, and his school fees were already stretched thin.
What they didn’t know was that the next four weeks would completely transform not just Rajesh’s study plan, but how their entire family approached education. If you’ve just brought home an Apna PC and aren’t sure where to start, this week-by-week study plan will show you the way.
Week 1: Getting Comfortable (The Exploration Phase)
Day 1 felt chaotic. Rajesh wanted to click everything. His mom worried he’d break something. But here’s what actually worked: they let him explore for 30 minutes without pressure.
The Apna PC comes pre-loaded with Zorin OS, Scratch, LibreOffice, and Apni Prerna for student monitoring. On day 2, Priya discovered Apni Prerna and realised she could see what Rajesh was doing without having to hover over his shoulder. This alone reduced the tension between them.
- Days 1-2: Let your child explore the desktop, open different applications, and get comfortable with the mouse and keyboard.
- Days 3-4: Show them where their schoolwork will live. Create folders for each subject together.
- Days 5-7: Start with just 20-minute sessions. Your child’s brain is still adjusting to the new device.
By Friday, Rajesh could open LibreOffice on his own. That felt like a victory.
Week 2: Building a Study Plan That Works
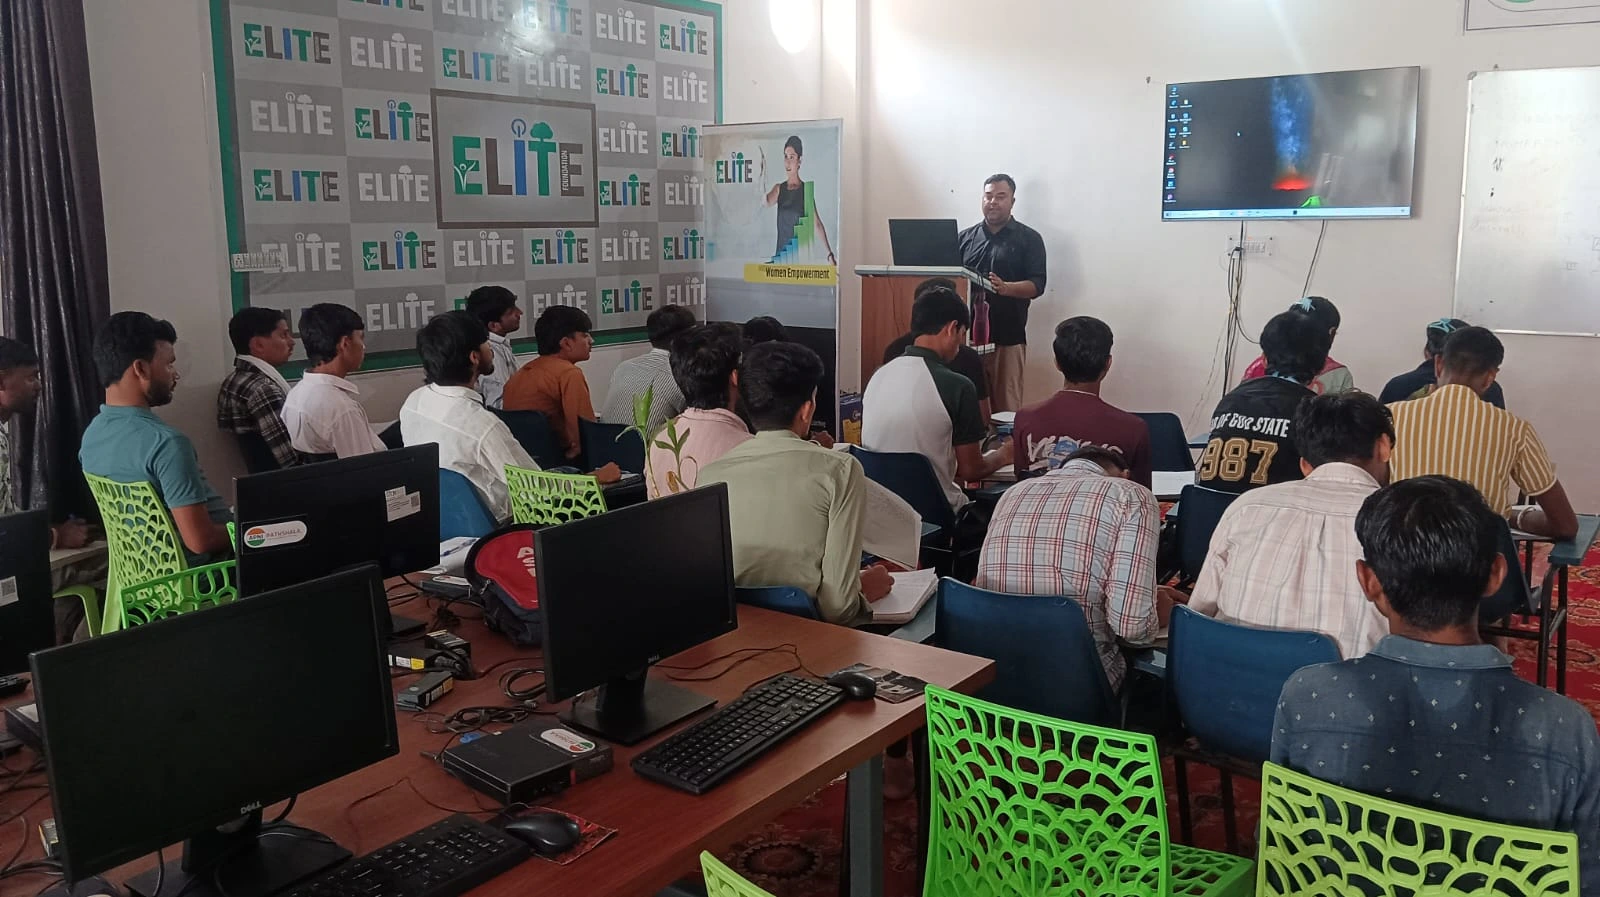
This is where a real study plan starts taking shape. Rajesh’s school sent worksheets via WhatsApp. Instead of printing them (which cost more than they had), Priya now typed them in LibreOffice, and Rajesh completed them digitally.
The learning routine they built looked like this: 8:00 AM breakfast, 8:30 AM math practice, 9:15 AM short break, 9:30 AM language work, 10:15 AM Scratch coding project. By week 2, Rajesh was following this without complaining.
What changed things was study supervision becoming easier for working parents. Priya could check Apni Prerna during her lunch break instead of taking constant breaks to monitor him. Understanding how learning works actually helped her set realistic expectations.
- Set a fixed start time (consistency matters more than perfection)
- Plan 45-minute blocks with 15-minute breaks.
- Include at least one creative activity (Scratch coding counts)
- End each day with 10 minutes of review.
Week 3: Showing Real Student Progress
By week 3, Rajesh’s teacher noticed something. His homework was neater. His handwriting had improved because he was typing and then printing. His math scores jumped from 65 to 78.
This is when student progress becomes visible. Rajesh wasn’t just using a computer. He was learning how to learn differently. The 8GB RAM and 128GB SSD meant the Apna PC never slowed down, even when he had multiple tabs open for research.
Priya started a simple chart on the wall. Every time Rajesh completed his weekly goals, she marked it. By the end of week 3, he had five marks. He was proud. His parents were proud.
One unexpected benefit: Rajesh discovered DIKSHA through his teacher’s recommendation. He started using DIKSHA digital learning platform for extra videos in subjects he found tough. His curiosity had actually increased.
Week 4: Making Your Study Plan Stick
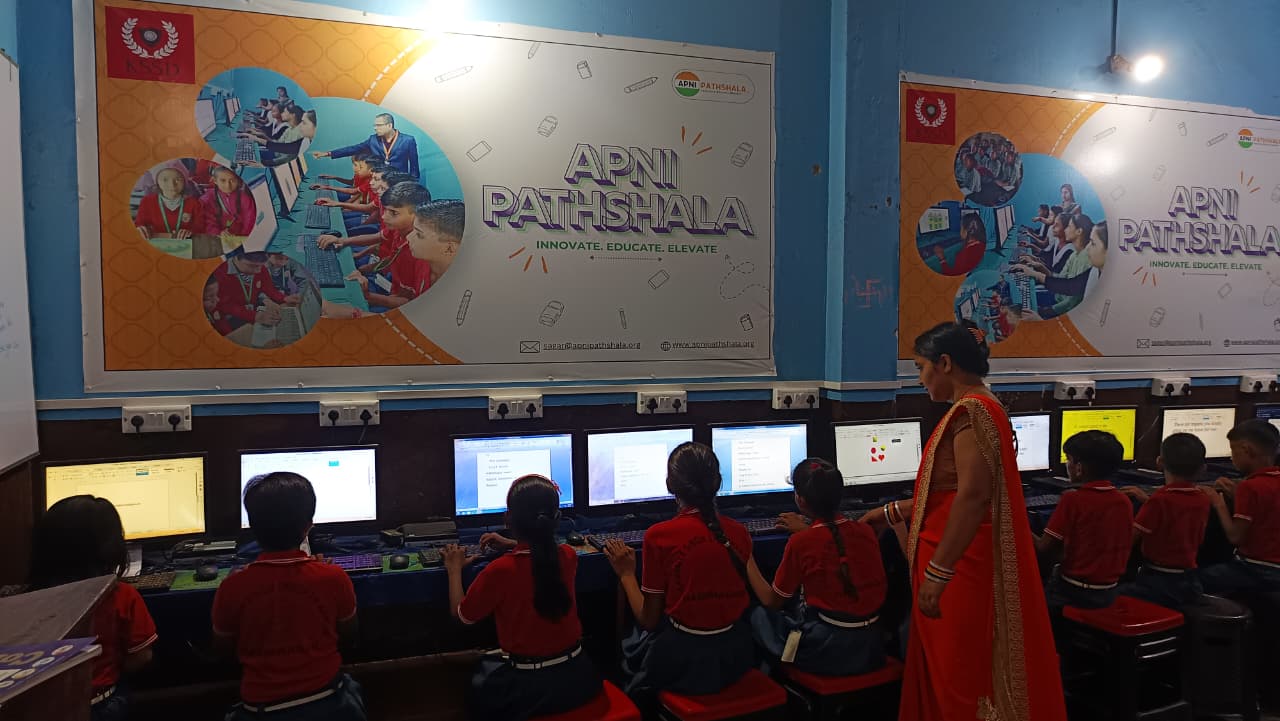
Week 4 is where most families fail. The novelty wears off. Kids get bored. But Rajesh didn’t, and here’s why.
His parents had learned something crucial: how Apna PC reduces parent-child study stress. Instead of yelling about homework, they had conversations about what Rajesh was learning. Priya could see his progress in Apni Prerna and celebrate small wins.
- Days 22-24: Introduce a coding project in Scratch. Let your child create something they actually want to make.
- Days 25-28: Have them teach you something they learned. Teaching reinforces learning.
- Day 28 onwards: This isn’t an end point. This is your new normal.
The study plan they created in week 1 needed only small tweaks by week 4. Rajesh now woke up and went to the Apna PC without being asked. He’d started a Scratch project about his favourite cricket player. His mom had stopped worrying about whether he was wasting time.
What You Can Do Differently
You don’t need to follow Rajesh’s exact timeline. Every child is different. But the framework works: explore, build routine, track progress, sustain habits.
The Apna PC at Rs.30,000 (excluding shipping and GST) isn’t just a computer. It’s a tool that changes how learning happens in your home. It removes the friction between parents and children during study time. It gives you real visibility into what your child is doing without being intrusive.
Most importantly, it works in Indian homes with limited space, sometimes limited bandwidth, and limited time from working parents. Zorin OS is intuitive. Scratch teaches coding without complexity. LibreOffice is free and powerful. Apni Prerna keeps you connected without stress.
Your child’s first month on Apna PC will be different from Rajesh’s. But if you follow this week-by-week plan, you’ll see the same transformation: from resistance to enthusiasm, from chaos to routine, from stress to partnership. Your child can start this journey today. Visit apnapc.com to learn more.