


Vikram sat in his Lucknow room, staring at his history assignment. “Make a 5-minute video about the Mughal Empire,” his teacher had written. His stomach twisted. He’d never made a school video before. His old laptop didn’t even have a working camera. Then his parents bought him an Apna PC, and everything changed. Within two weeks, he’d submitted a project that got him 92 marks. His secret? Learning how to use a webcam properly for school projects.
If you’re a student in a Tier 2 or Tier 3 city, you might feel the same nervousness Vikram did. Video projects aren’t going away. Schools across India now expect students to submit video assignments, presentations, and creative work. The good news? You don’t need expensive equipment. A decent computer with a built-in or external webcam is enough. This guide will walk you through everything you need to know about using a webcam for school projects, from planning to submission.
Step 1: Plan Your Project Before You Press Record
The biggest mistake students make is hitting record without a plan. Spend 10 minutes writing down what you want to say. If your project is about a historical figure, write 3-4 key points you’ll cover. If it’s a science experiment, note the steps you’ll demonstrate. This isn’t about memorising a script. It’s about knowing your direction so you don’t ramble or go off-topic.
Next, decide how long your video should be. Most school projects ask for 3-5 minutes. Knowing this helps you pace yourself. A rushed video looks unprofessional-a video that’s too long wastes your time and your teacher’s patience.
Step 2: Set Up Your Camera Angle and Lighting
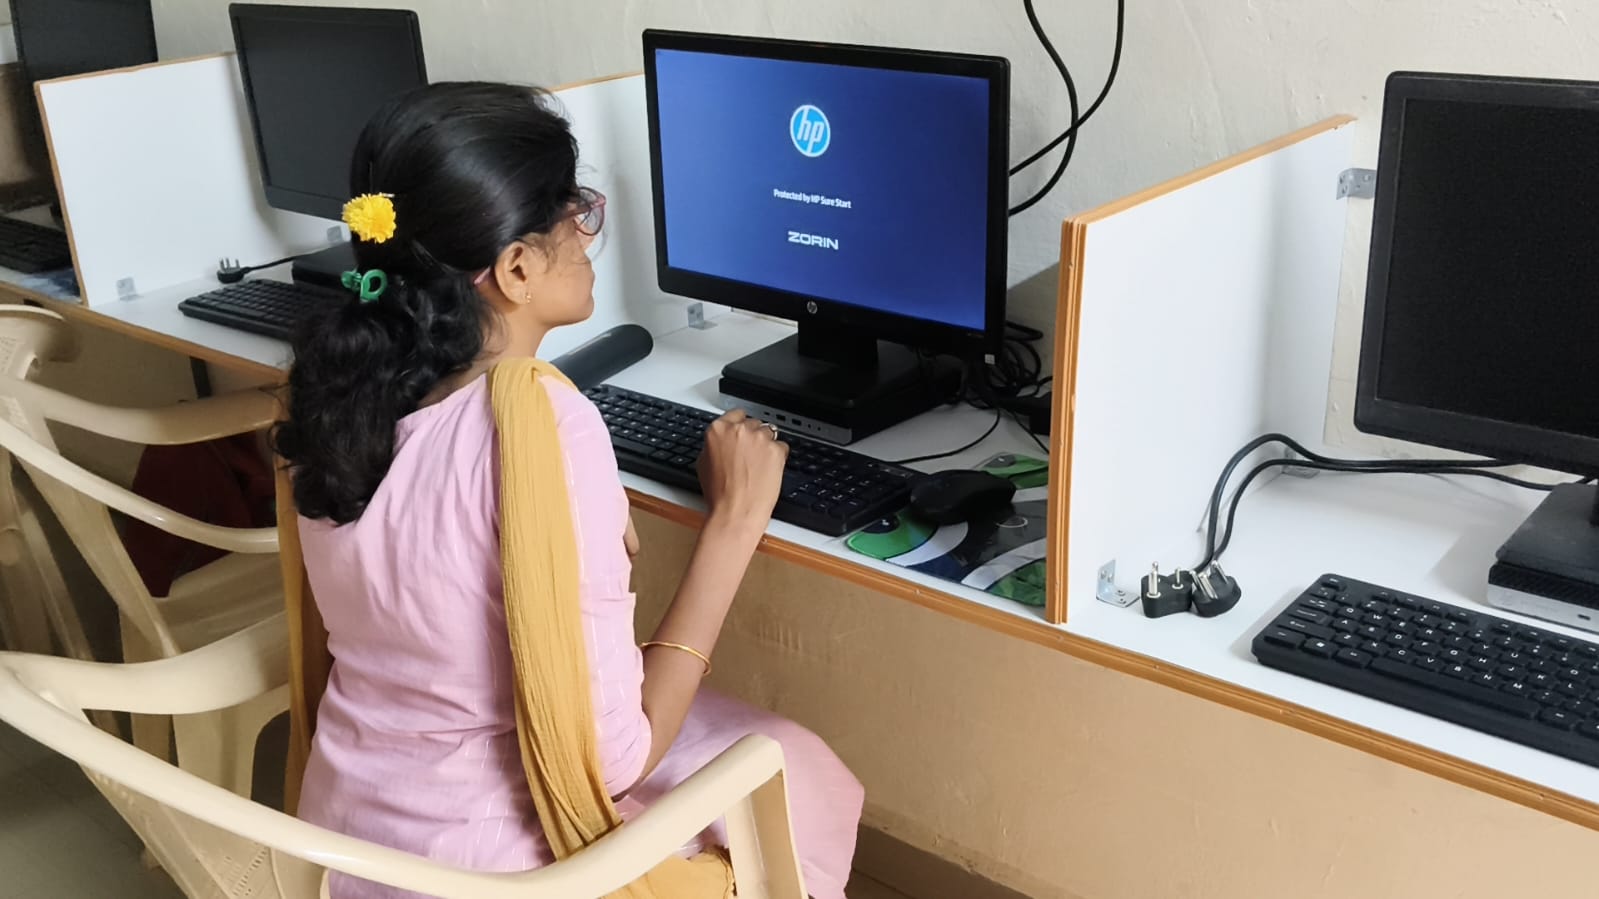
Your setup matters more than you think when you use a webcam for school projects. Position your camera at eye level, not below or above. This means if you’re sitting at a desk, your laptop screen or external webcam should be at the same height as your eyes. Tilting down makes you look disinterested. Tilting up looks unnatural.
Lighting is the second critical element. Never film with a bright window or light source behind you. That creates a silhouette effect, and your face becomes dark. Instead, sit facing a window or place a lamp beside your camera. Your face should be clearly visible and well-lit. If your room is too dark, move closer to a natural light source or use your room’s overhead light.
Test your audio too. Speak clearly and avoid background noise. Close doors to reduce traffic sounds. Turn off fans if they’re loud. Your webcam’s built-in microphone will work fine for school assignments, but make sure you don’t whisper.
Step 3: Film Your Webcam for School Projects
Now you’re ready to record. Open your camera app or video recording software. Most computers come with basic recording tools. Windows has the Camera app. Mac has Photo Booth or QuickTime. If you’re using an Apna PC with Zorin OS, you can use the built-in recording features or download free software like OBS Studio.
Start recording and speak naturally. Pretend you’re explaining something to a friend, not delivering a formal speech. If you make a mistake, pause, take a breath, and continue. You can edit out the bad parts later. Most students do 2-3 takes before they get one they’re happy with. That’s completely normal.
Keep your gestures natural. Don’t sit completely still like a statue. Move your hands slightly to emphasise points. Look at the camera lens, not at yourself on the screen. This creates the feeling that you’re talking directly to your teacher.
Step 4: Quick Editing for Your Webcam for School Projects
After filming, you’ll want to edit your video. Good editing turns raw webcam footage into something a teacher actually enjoys watching. Cut out the mistakes, pauses, and awkward moments. You don’t need fancy software. Windows comes with a Photos app that has basic editing. Mac has iMovie. On Zorin OS, you can use Shotcut or Kdenlive, both free and easy to learn.
Add simple visuals if your project needs them. If you’re talking about a historical event, insert relevant images. If it’s a science project, include diagrams or photos of your experiment. These visuals break up the video and keep your teacher engaged. Don’t overdo it, though. Too many flashy effects distract from your message.
Add a title at the beginning with your name, class, and project topic. Add credits at the end. This looks professional and shows effort.
Step 5: Save Your File in the Right Format
Once you’ve edited, export your video in a common format like MP4. This format works on almost every device and platform. Most editing software lets you choose the export quality. For school assignments, standard quality (720p) is fine. You don’t need 4K. Standard quality keeps your file size manageable, which matters when you’re uploading.
Name your file clearly. Instead of “video1.mp4,” use something like “Vikram_Mughal_Empire_Project.mp4.” This helps your teacher find and organise submissions. It also shows you’re organised.
Step 6: Submit Your Project Properly
Check your school’s submission guidelines. Some teachers want videos uploaded to Google Classroom. Others want them emailed. Some want you to share a Google Drive link. Follow the exact instructions. If your teacher asks for a specific format or file size, stick to it.
Before submitting, play your video one more time on a different device if you can. Check that the audio is clear, the video is smooth, and nothing got corrupted during export. Submit a few hours before the deadline, not at the last minute. Technical issues happen, and you need buffer time.
Why the Right Computer Matters
Here’s what you might not realise: your computer’s quality directly affects your video quality. A slow computer struggles with recording and editing video. It freezes, crashes, and wastes your time. An Apna PC comes with 8GB RAM and a 128GB SSD, which is exactly what you need for smooth video work. It also comes pre-loaded with Zorin OS, LibreOffice, and Scratch. For video projects, this setup handles recording, editing, and file management without any lag.
The Apna PC also includes Apni Pathshala‘s student monitoring features, which help you stay focused during your project work. At Rs.30,000 (shipping and GST excluded), it’s designed specifically for Indian students like you. You get a computer built for schoolwork, not a generic machine.
Tools and Resources That Help
The Ministry of Education has guidelines on digital learning in schools. These guidelines support multimedia projects. The Digital India initiative encourages students to develop digital skills, including video creation. As you grow more confident with video projects, you’ll find these resources helpful for understanding the broader context of digital education in India.
For security and privacy when uploading files online, check CERT-In guidelines. They help you understand safe practices when sharing files digitally.
Making Your Next Project Even Better
After you submit your first video project, don’t stop there. Each project teaches you something new. Your second video will be better than the first. You’ll get faster at editing. Your on-camera presence will improve. Your audio will sound clearer. Each video you film will get easier than the last.
Keep your video files organised in a folder on your computer. You might want to revisit them later for college portfolios or personal records. If you need to print any supporting documents for your projects, you can print school projects at home using your computer’s printer.
Remember, your school is pushing you toward video projects because these skills matter in the real world. Professionals in every field create videos now. You’re not just completing an assignment. You’re building a skill that’ll help you in college and career.
The journey from nervousness to confidence is shorter than you think. Vikram went from anxiety to 92 marks in two weeks. You can do the same. Start with one project, follow these steps, and you’ll be amazed at what you can create.
Your computer is the foundation of this journey. An Apna PC gives you the power and reliability you need for smooth video creation and editing. Visit apnapc.com to learn m