


Aarti sat in her small room in Jaipur, staring at her new computer screen. Her online classes were starting in ten minutes, but when her teacher spoke, the sound came out like a broken radio. Her mother knocked on the door: “Beta, can you hear properly? Your father spent money on this computer.” Aarti’s hands shook as she fumbled with the volume buttons. She didn’t know where to start. This moment changed when she learned the basics of computer sound setup. Your audio experience depends on how you configure your headphones and speakers, and getting it right makes all the difference in your studies.
Many students like Aarti face this same problem every day. Whether you’re attending online classes, watching educational videos, or working on projects, poor audio ruins your learning. A proper computer sound setup isn’t complicated, but most students never learn it. This guide will show you exactly how to set up headphones and speakers the right way.
Why Computer Sound Setup Matters for Your Studies
Your ears are as important as your eyes when you learn online. When your audio is unclear, you miss important information from your teachers. You might replay the same video five times, wasting precious study time. Bad sound can also cause headaches and make you tired faster.
The good news is that fixing your computer sound setup takes just a few minutes. You don’t need to be tech-smart or spend extra money. Once you set it up correctly, it works smoothly for months. Your study sessions become comfortable and productive.
Step 1: Choose Between Headphones and Speakers
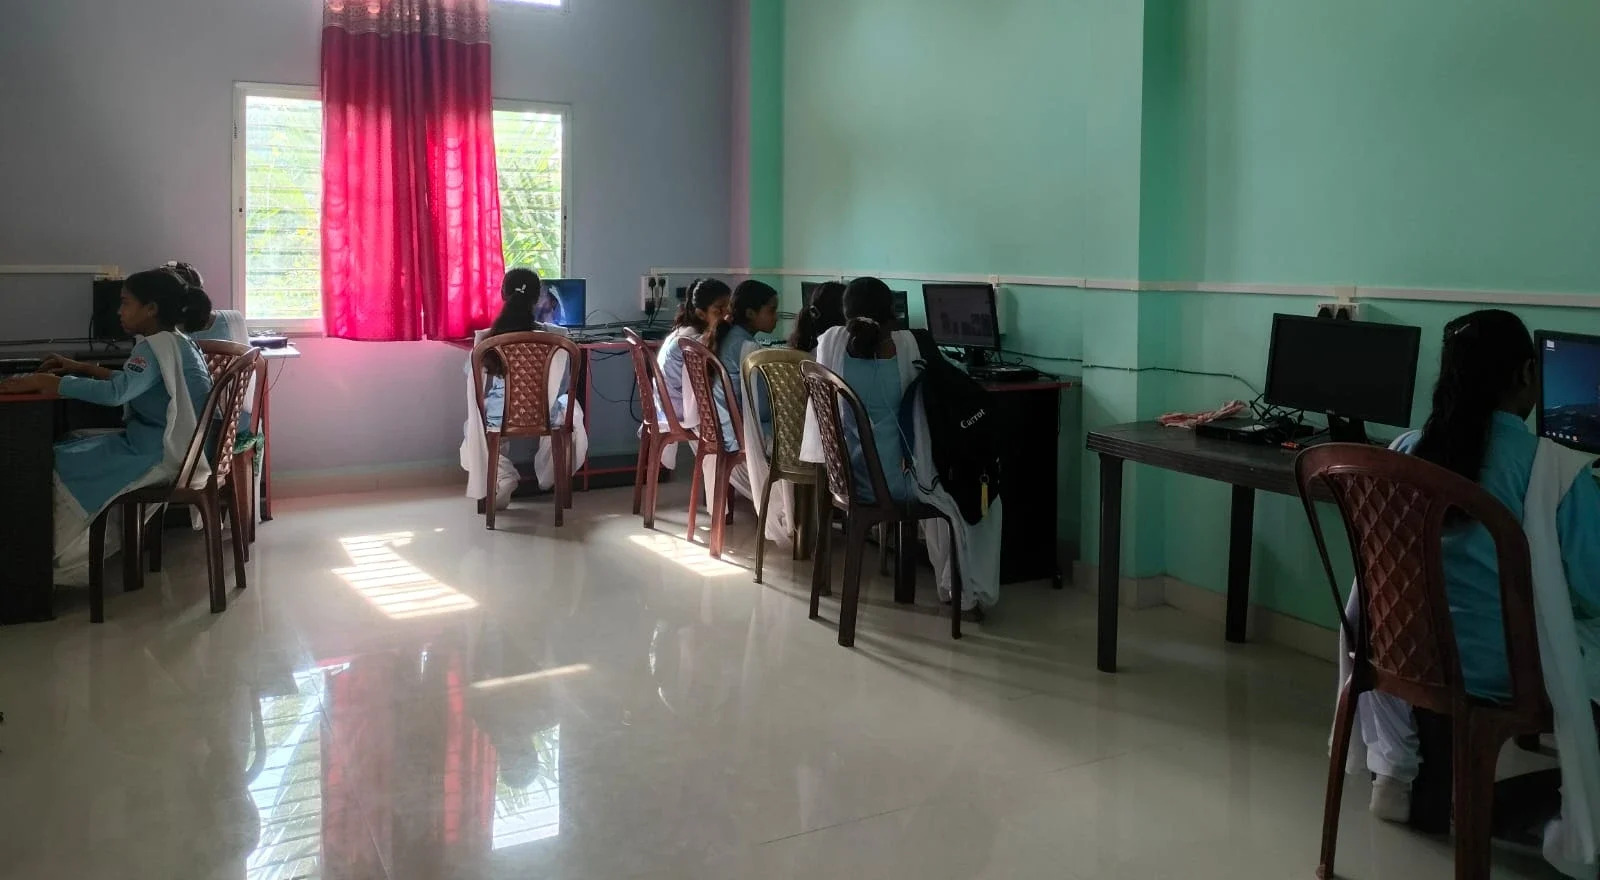
First, decide what works best for your situation. Headphones are great for students if you share a room or live in a noisy area. They give you private, focused audio and block outside noise. Speakers work better if you have your own quiet space and want to study comfortably for long hours.
Many students use both at different times. You might use headphones during morning classes when your family is busy, then switch to speakers for evening study sessions. There’s no single right answer. Your choice depends on your home environment and personal comfort.
Step 2: Connect Your Audio Devices Properly
Before you start using headphones or speakers, make sure they’re connected correctly to your computer. For wired headphones, push the 3.5mm jack firmly into the audio jack on your computer. You should hear a small click. For USB speakers, plug them into any USB port and wait two seconds for your computer to recognise them.
Bluetooth headphones need one extra step. Go to your settings, find Bluetooth, and turn it on. Hold the power button on your headphones until they enter pairing mode. Your computer should find them within seconds. Once paired, they connect automatically every time you turn them on.
If nothing works, restart your computer. This simple step fixes 70% of connection problems students face.
Step 3: Adjust Your Audio Settings in the Operating System
Now comes the part most students skip: configuring the sound settings. Right-click on the speaker icon in your system tray (bottom right corner of your screen). Click “Open Sound Settings” or “Sound Preferences” depending on your operating system. You’ll see a list of audio devices.
Look for your headphones or speakers in this list and click to select them. Make sure the volume slider is set to at least 50 per cent. If the volume is too low, your audio will be faint. If it’s too high, you might damage your hearing or hear distorted sound.
Test your audio by playing a YouTube video or opening a voice recording app. Adjust the volume until you hear clearly without straining. This is your personal comfort level, and it’s different for everyone.
Step 4: Configure Application-Specific Audio Settings
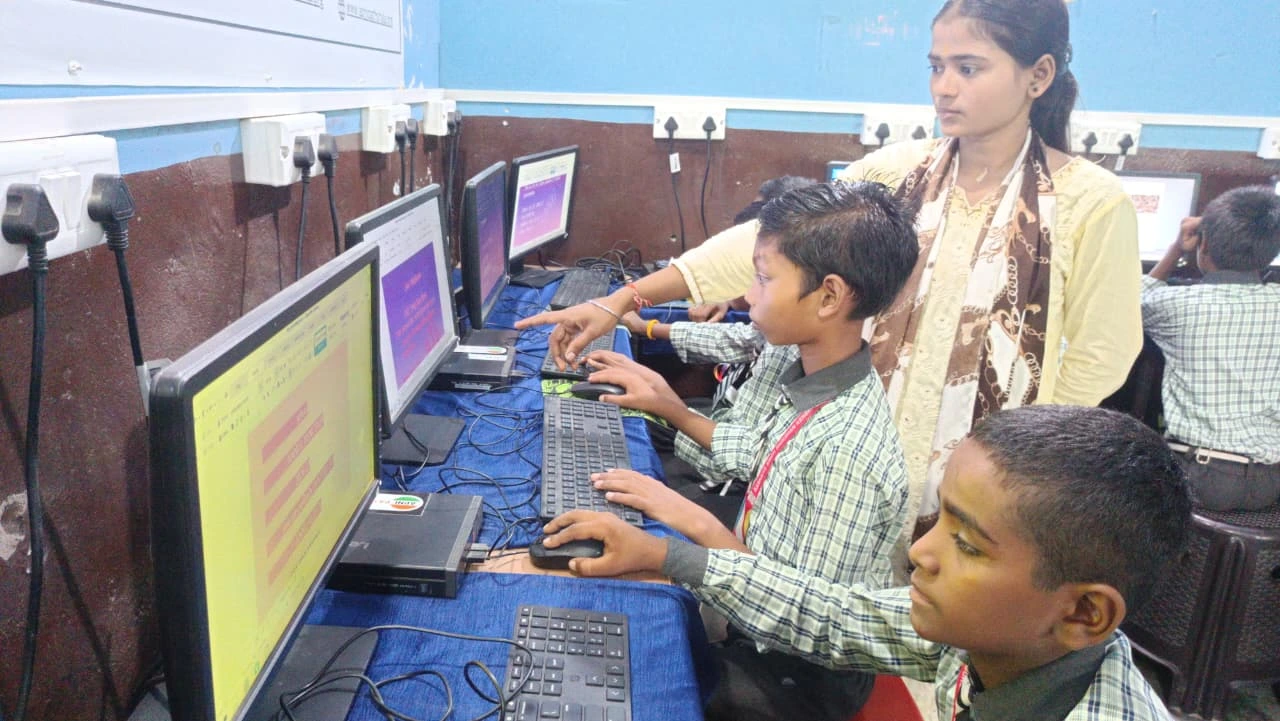
Different programs have their own audio controls that sit on top of your system settings. When you open your video call app, look for a speaker icon in the settings menu. Click it and select your headphones or speakers from the dropdown. Do the same for your browser if you watch educational videos.
Many students forget this step and wonder why their audio sounds weird in one app but fine in another. Each application remembers your choice, so you only need to do this once. After that, it stays set.
Step 5: Test and Troubleshoot
Before your important class or exam, always do a quick audio test. Open any video or voice app and play something for 10 seconds. Listen for clear, crisp sound without crackling or buzzing. If you hear problems, try these fixes: reduce the volume slightly, move away from WiFi routers, or restart the application.
If your speakers or headphones still don’t work, check that they’re not muted. Many devices have a physical mute button on the side. Also check that your audio device isn’t set to “disabled” in your sound settings. A loose cable can also cause problems, so gently wiggle the connection and listen for changes.
If you ever need to download audio drivers or sound apps, get them only from official manufacturer websites. CERT-In, India’s cybersecurity authority, warns that unofficial driver downloads are a common way malware enters a computer. Two minutes of caution protects your whole device.
Best Practices for Your Computer Sound Setup
Keep your speaker volume between 40 and 70 per cent during study sessions. Louder isn’t better. Your ears need breaks, so take five minutes away from audio every hour. This prevents fatigue and helps you focus better.
Clean your headphone jacks and speaker connections with a dry cloth every month. Dust buildup causes crackling sounds and connection problems. Store your headphones carefully to avoid damaging the cable. Damaged cables are the most common reason for audio failure.
If you use the same computer for gaming and studying, create separate audio profiles. Your gaming audio settings are usually too loud and aggressive for classes. Switching between them takes 30 seconds and protects your hearing.
The Role of Quality Hardware
Your computer’s built-in speakers and audio card matter more than you think. Cheap computers often have poor-quality audio hardware that sounds tinny or muffled no matter what you do. This is where investing in the right device makes sense.
The Apna PC comes with quality audio hardware designed specifically for students. With 8GB RAM and 128GB SSD, it runs smoothly during your online classes without audio lag or stuttering. It comes preloaded with everything you need, including Apni Pathshala software for better learning. At Rs.30,000 (shipping and GST excluded), it’s built for students in tier 2 and tier 3 cities who need reliable performance.
The Apna PC runs Zorin OS, which has excellent audio driver support. You won’t face the sound problems that plague cheaper computers. Your audio setup stays stable throughout the day, whether you’re in class for four hours or studying for exams.
Learning Resources and Support
If you want to go deeper into audio technology, check out resources from the Digital India initiative, which promotes digital literacy nationwide. If your school follows the CBSE curriculum, the computer practicals there also cover basic hardware setup, including audio devices. Your school’s IT department can also help if you face persistent audio problems. Many schools have tech support staff who can guide you through troubleshooting.
For offline practice, set up your audio system and practice with recorded videos. This helps you get comfortable with your setup before your actual classes start. Practice makes perfect, and the same applies to this skill.
Getting your computer sound setup right is one of the easiest ways to improve your online learning experience. Take 15 minutes today to follow these steps, and you’ll study better for years to come. Visit apnapc.com to learn more.