


Rajesh’s Fear and His First Recording
Rajesh sat in his small room in Indore, staring at his laptop screen. His English teacher had assigned a presentation on climate change, and he had to deliver it to the entire class next week. His hands were shaking just thinking about it. Like many students in Tier 2 and Tier 3 cities, Rajesh had never done serious public speaking practice before, and the thought of standing in front of 40 classmates terrified him.
His mother suggested something simple: record yourself. At first, Rajesh thought it was a waste of time. But he decided to try. He opened his laptop, pressed record, and started speaking about global warming. Watching himself back was uncomfortable. He noticed he said “uh” every few seconds, constantly looked down at his notes, and spoke too fast. But something clicked. He had found a way to practice without the fear of real eyes watching him.
Why Public Speaking Practice Through Recording Works
Public speaking practice doesn’t have to happen in front of a live audience. When you record yourself, you get honest feedback without the pressure. You can pause, rewind, and see exactly where you stumbled. This method is especially powerful for students who feel shy or anxious about speaking in front of others.
Recording yourself for presentation practice gives you control over your learning pace. You can do multiple takes without embarrassment. You can practice at midnight or early morning, whenever you feel ready. Most importantly, you can watch your recordings multiple times to spot patterns in your speaking skills that you might otherwise miss.
The CBSE has increasingly emphasised communication skills in its curriculum. Schools across India are now making presentation practice a core part of assessments. Students who master this skill early gain a huge advantage in academics and their future careers.
Getting Started: Tools You Already Have
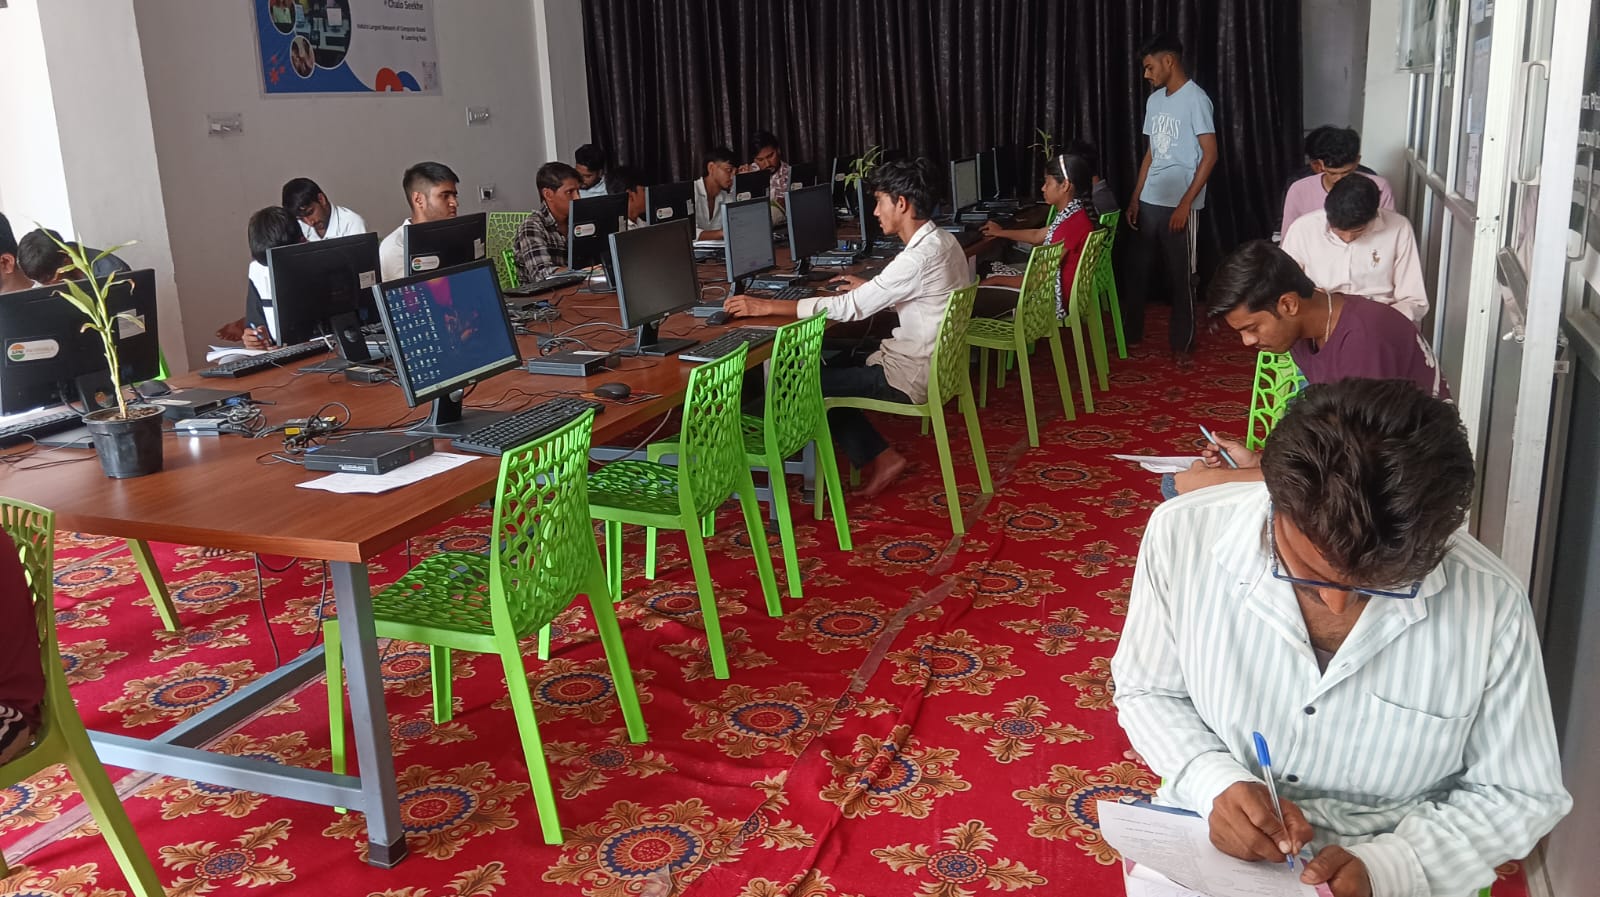
You don’t need expensive equipment to begin. Your smartphone camera works perfectly fine for recording yourself. Open the camera app, switch to video mode, and press record. Speak your presentation, speech, or just practice talking about a topic you like.
If you have a computer, even better. Most student computers and laptops come with built-in cameras and microphones. You can use free software like OBS Studio or record directly in your browser. The Apna PC comes pre-loaded with tools that make recording and editing simple, even for beginners who aren’t tech-savvy.
Find a quiet corner in your home. Close the windows to reduce noise. Set up your phone or laptop at eye level so the camera captures your face properly. Good lighting helps too. Sit near a window or use a lamp to brighten your face.
What to Look for When Reviewing Your Recordings
After you record, watch it like you are someone else. Notice your body language. Are you standing still like a statue? Are you making eye contact with the camera? Good speaking skills include movement and gestures that feel natural, not stiff.
Listen to your pace. Do you rush through your words? Are you speaking too slowly? Aim for a steady rhythm that lets your audience absorb information. Count how many times you use filler words like “um,” “uh,” or “like.” Each time you notice one, that’s a chance to improve.
Check your clarity. Can you understand every word you said? If you can’t, your audience won’t either. Practising by recording helps you catch unclear pronunciation or mumbled words before your real presentation.
Look at your confidence. Do you seem nervous? Do you avoid the camera? Your body language tells a story. When you practice public speaking this way, you gradually feel more comfortable, and it shows in your recordings.
Making Your Practice Sessions Productive
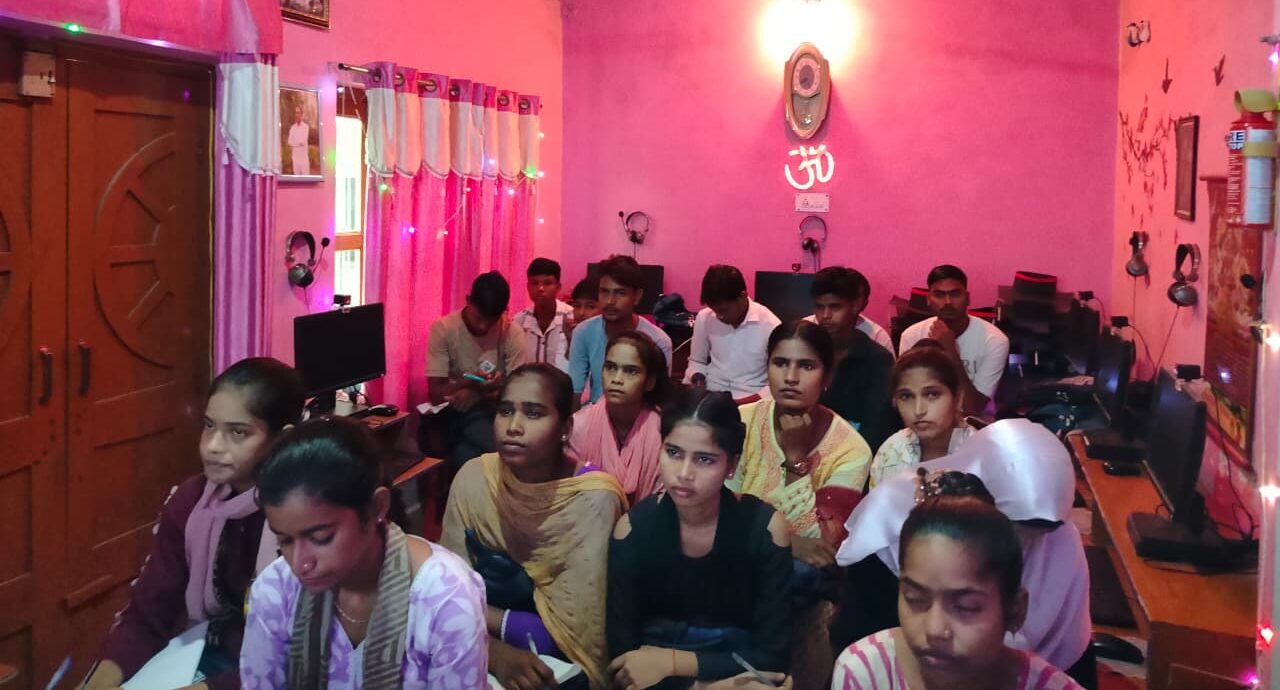
Don’t just record once and call it done. Set a goal for each session. First recording: focus on speaking clearly. Second recording: work on pace and rhythm. Third recording: add gestures and movement. Breaking it into smaller goals makes the process less overwhelming.
Write down what you want to say, but don’t read word-for-word from a script. Use bullet points instead. This forces you to think on your feet and develop better speaking skills. When you rely too heavily on notes, you sound robotic and lose your audience.
Ask a family member to watch your recording and give feedback. They might notice things you missed. Parents, siblings, or cousins can tell you if your explanation was clear or if you seemed confident. Their perspective is valuable.
Taking Your Practice to the Next Level
Once you feel comfortable recording yourself, try recording longer presentations. Aim for 5 minutes, then 10 minutes. Longer recordings help you build stamina for real-world situations like school assemblies or competitions.
You can also make educational videos on topics you love. This combines speaking practice with creativity. Share them with classmates, and browse platforms like the DIKSHA digital learning platform to see how students across India learn.
Many schools now encourage students to submit recorded presentations instead of live ones. This shift means your public speaking practice recordings can actually count toward your grades. You are learning a skill that schools now actively value.
The Right Tools Make a Difference
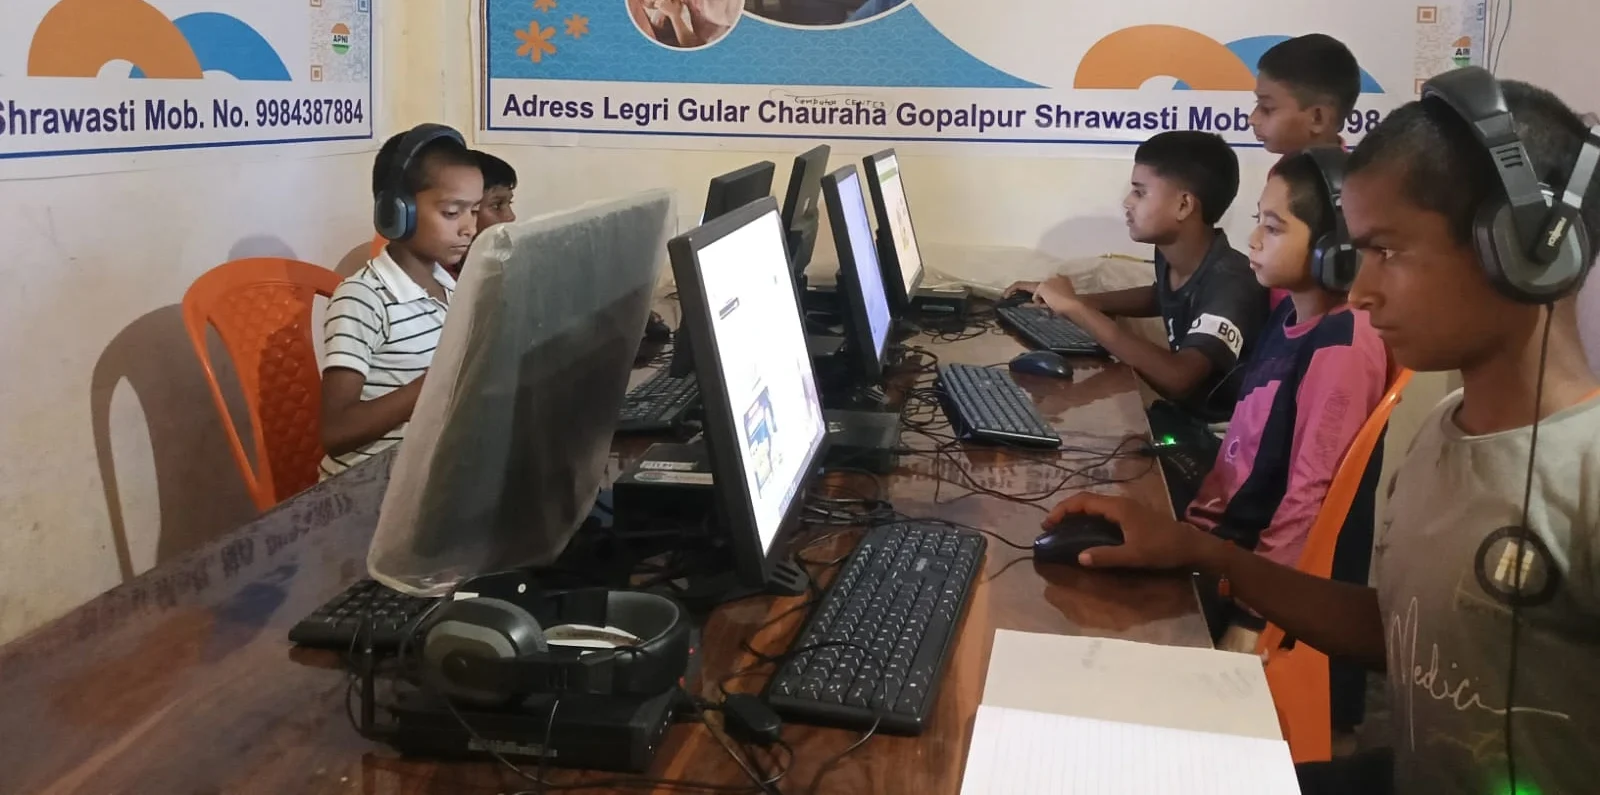
Having a reliable computer makes presentation practice easier and more enjoyable. The Apna PC, a student computer from Apni Pathshala priced at just Rs.30,000, is designed specifically for students like you. It comes with 8GB RAM and 128GB SSD, meaning it handles recording, editing, and playback smoothly without lag.
The Apna PC runs Zorin OS and comes pre-loaded with LibreOffice, perfect for creating your presentation slides. It also includes Scratch for creative projects. Most importantly, it is affordable for families in Tier 2 and Tier 3 cities. You don’t need an expensive MacBook or gaming laptop to develop strong speaking skills.
The computer also includes Apni Prerna, a student monitoring tool that helps you track your progress. You can keep records of your recordings and see how much you’ve improved over weeks and months.
Start Your Public Speaking Practice Today
You don’t need to wait for the perfect moment or the perfect equipment. Start recording yourself this week. Pick a topic you know well. Speak for 2-3 minutes. Watch it back. Notice one thing to improve. Record again.
This simple cycle of recording, reviewing, and re-recording is how thousands of students are building better speaking skills. The Indian Ministry of Education emphasises communication as a 21st-century skill. By starting today, you are investing in your future.
With a tool like the Apna PC supporting your learning, you have everything you need to succeed. Visit apnapc.com to learn more.