


Meera’s Science Project Challenge
Meera sat in her Vadodara bedroom, staring at her laptop screen. Her biology presentation on photosynthesis was ready, but her teacher wanted a recorded video submission instead of a live class presentation. She felt nervous about speaking on camera, but she knew recording a presentation on a computer was the only way forward. With her Apna PC and LibreOffice Impress loaded and ready, she decided to give it a try.
Why You Should Record a Presentation on a Computer
Recording a presentation on a computer gives you control over your delivery. You can practice multiple times, fix mistakes, and submit your best work. Teachers across CBSE schools now expect students to submit recorded presentations for projects and assignments.
Video submissions also help you develop communication skills that you’ll need in college and jobs. When you record yourself speaking, you become more aware of your pace, clarity, and confidence. This is especially useful for students preparing for competitive exams and interviews.
Setting Up LibreOffice Impress for Recording
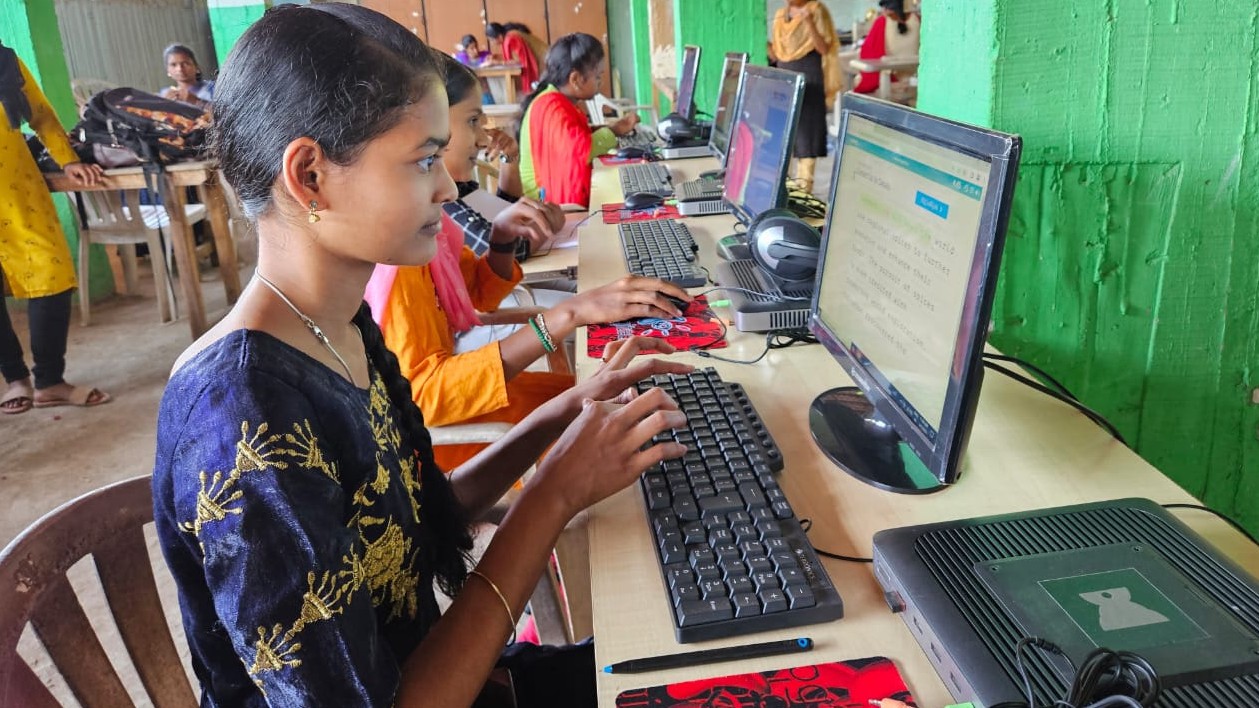
Your Apna PC comes with LibreOffice Impress already installed, which is perfect for creating and recording slide presentations. Open your presentation file and review each slide carefully before you start recording. Make sure your text is readable, images are clear, and your main points are easy to follow.
Take a few minutes to organise your thoughts for each slide. Write down key points on paper, but don’t memorise sentences word for word. This helps you sound natural when you record a presentation on a computer rather than robotic or rushed.
How to Record a Presentation on a Computer With Screen and Webcam
LibreOffice Impress allows you to record your presentation with your webcam video in the corner. This shows your face while your slides display on the screen. Start by clicking the Slide Show menu, then look for recording options in your version.
When you hit record, take a deep breath and begin with a clear introduction. Say your name, your topic, and what you’ll be covering. This gives your teacher context and shows you’re organised and professional.
Delivering Your Slides Smoothly
Speak about each slide for 30-60 seconds depending on complexity. Don’t rush through your content to finish quickly. Pause between slides to let your ideas sink in for the viewer.
If you make a small mistake, keep going rather than stopping and restarting. Your teacher won’t notice most minor errors. However, if you completely lose your train of thought, you can stop and restart that section.
Use pointer gestures to highlight important information on your slides. This helps guide your teacher’s attention to key points. Your Apna PC’s camera will capture these movements naturally.
Handling Technical Issues During Recording
Sometimes your internet connection might affect recording quality if you’re using cloud-based tools. That’s why recording directly on your Apna PC using LibreOffice is more reliable. You have full control over the process without depending on external servers.
If your recording stops unexpectedly, check your storage space. The 128GB SSD on Apna PC gives you plenty of room, but large video files do take up space. Keep at least 10GB free for smooth recording performance.
Saving and Sharing Your Recorded Presentation
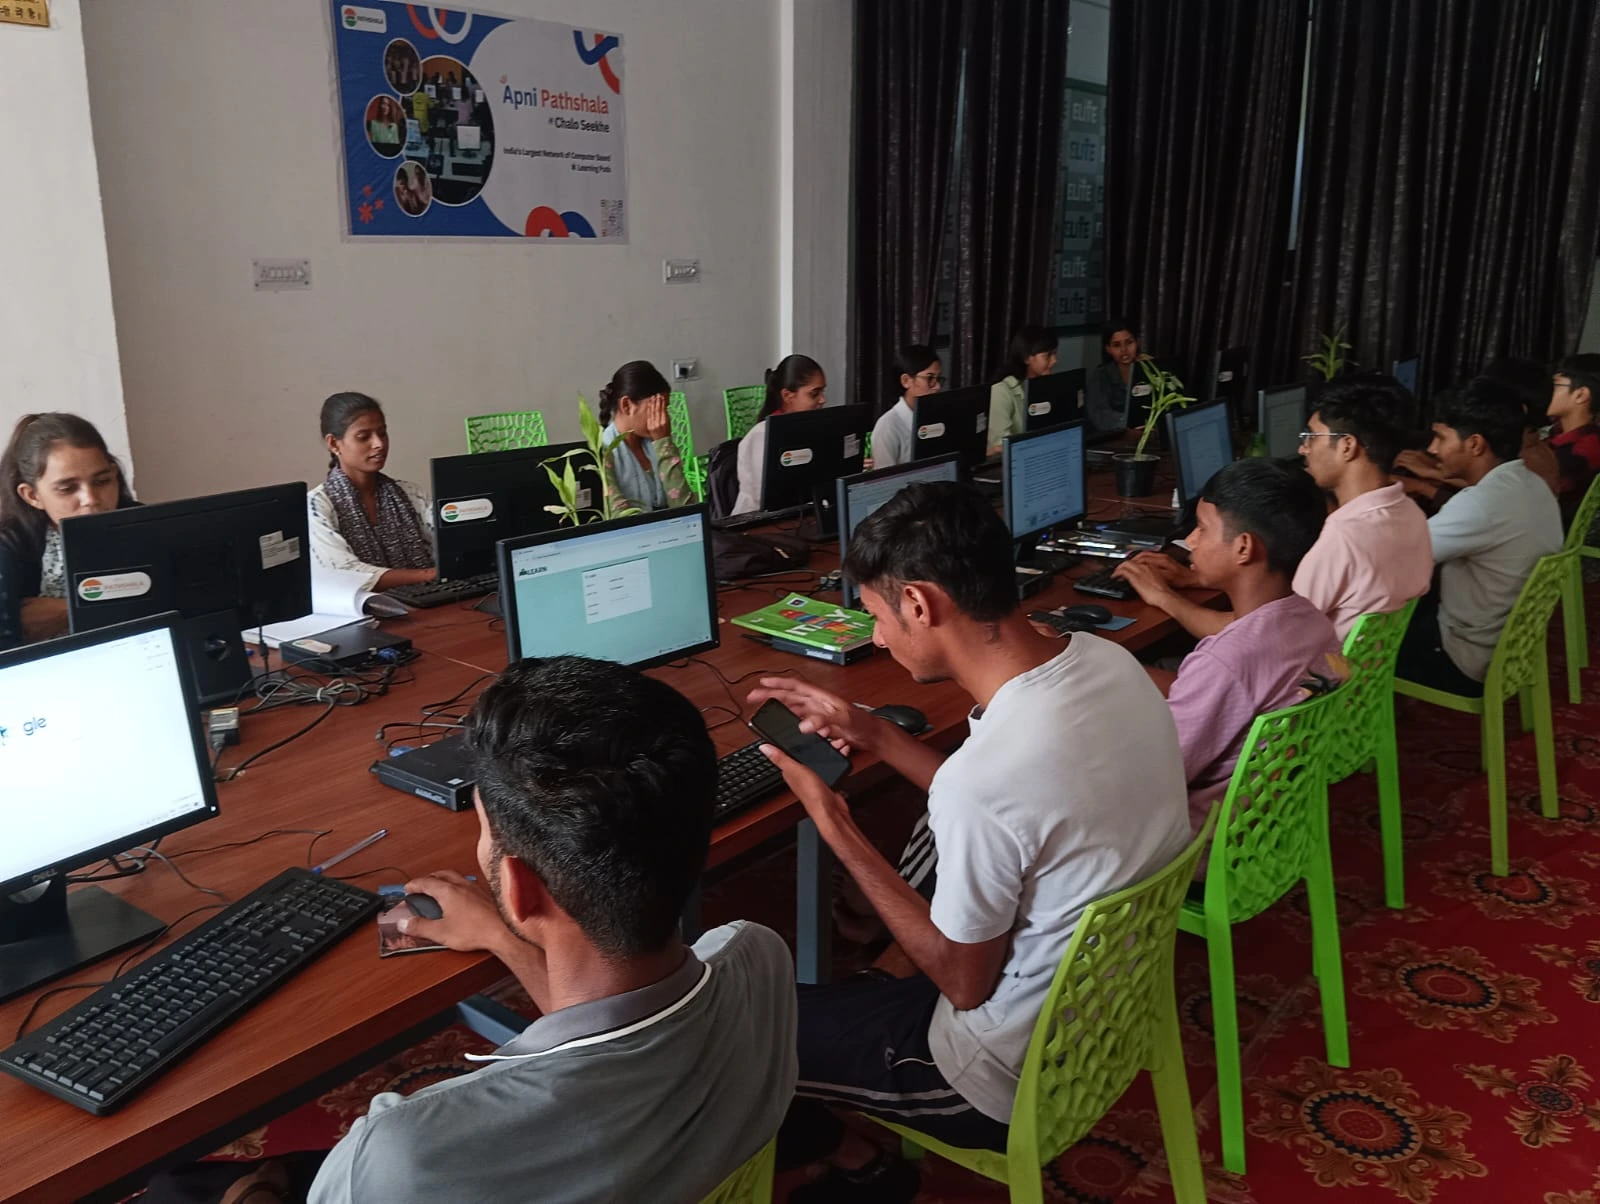
Once you record a presentation on your computer, save your file immediately with a clear name like “Photosynthesis_Meera_2026.mp4”. Your Apna PC saves files quickly thanks to its SSD storage. Make a backup copy on an external drive or in the cloud, just to be safe.
Before submitting, watch your entire recording once to check for audio issues or visual problems. If you need to make changes to the slides later, you can convert files to PDF for sharing with classmates. Your teacher might also ask you to upload your video to DIKSHA or your school’s learning platform.
Tips for Better Quality Recordings
Speak clearly and avoid filler words like “um” and “uh”. These distractions reduce your presentation’s professionalism. If you catch yourself using filler words, pause and continue speaking.
Most guides say you should record a presentation on a computer for 5-10 minutes unless your teacher specifies otherwise. Longer recordings are harder to watch and edit. Shorter, focused presentations show you understand your topic deeply.
Use consistent formatting across all your slides for a polished look. Apni Pathshala recommends using simple fonts and avoiding too many colours. This keeps the focus on your content and message.
Learning from Feedback
When your teacher returns your recorded presentation with feedback, pay attention to specific comments about your delivery. Did they mention you spoke too fast or too softly? These notes help you improve your next recording.
According to UNESCO education research, recording yourself helps you develop self-awareness about communication skills. You’ll notice patterns in your speech and work on them over time.
Making Recording Part of Your Study Routine
Start recording presentations early in the school year so you get comfortable with the process. Your first recording might feel awkward, but by your third or fourth attempt, it becomes natural. Many students find that recording helps them study better because they have to explain concepts out loud.
Recording a presentation on a computer is a skill that benefits you far beyond school assignments. Whether you’re creating content for social media, preparing for online job interviews, or sharing knowledge with others, these skills matter. Your Apna PC provides everything you need to record professional-quality presentations at home. Visit apnapc.com to learn more.